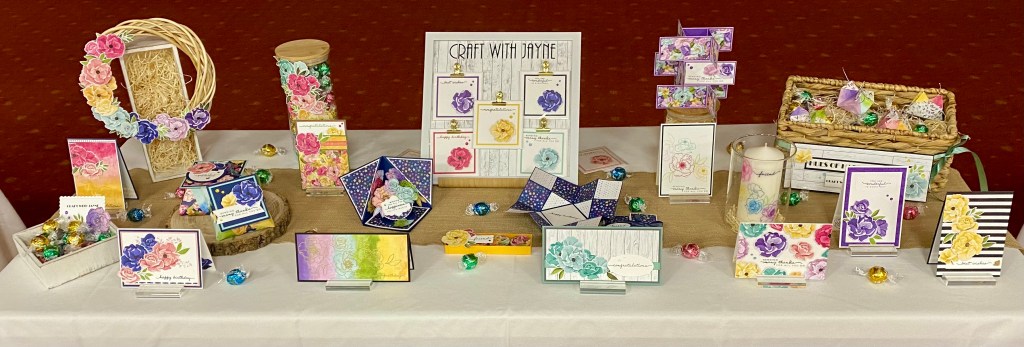
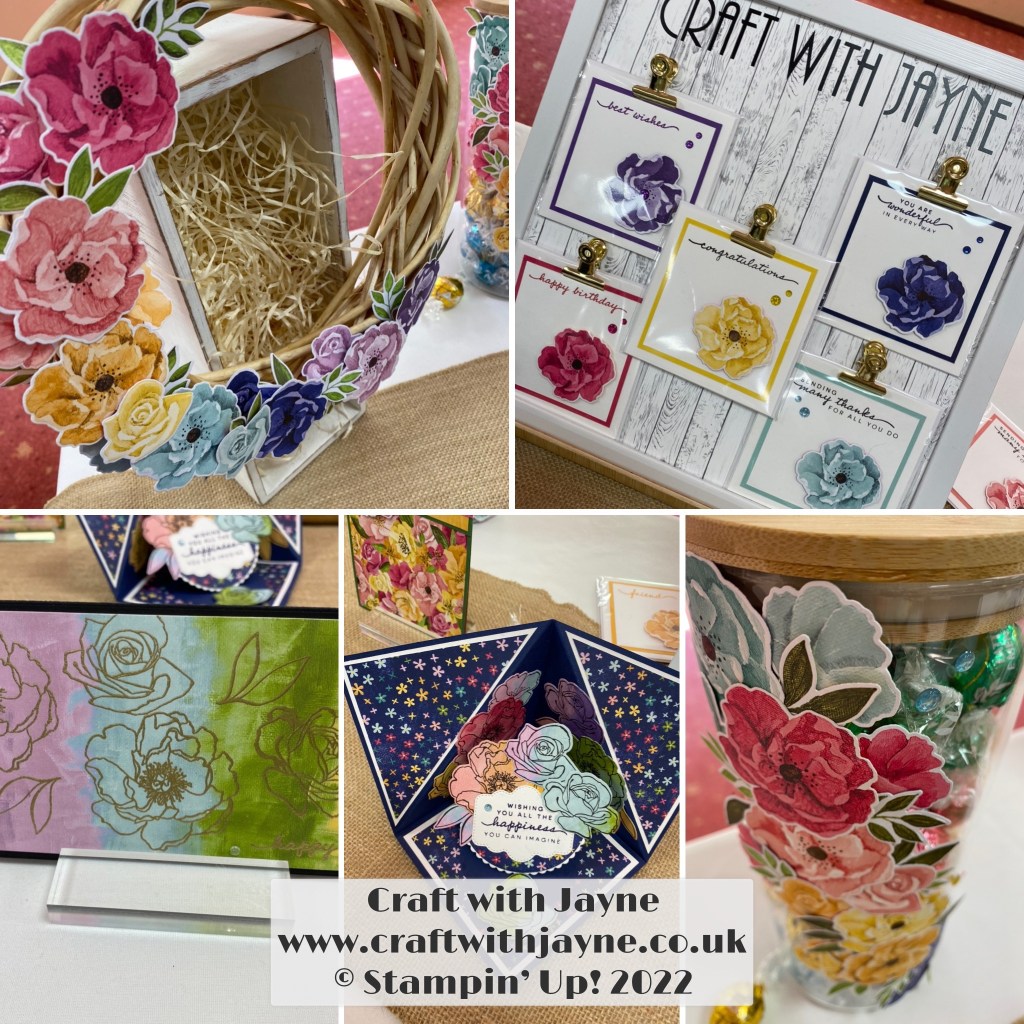
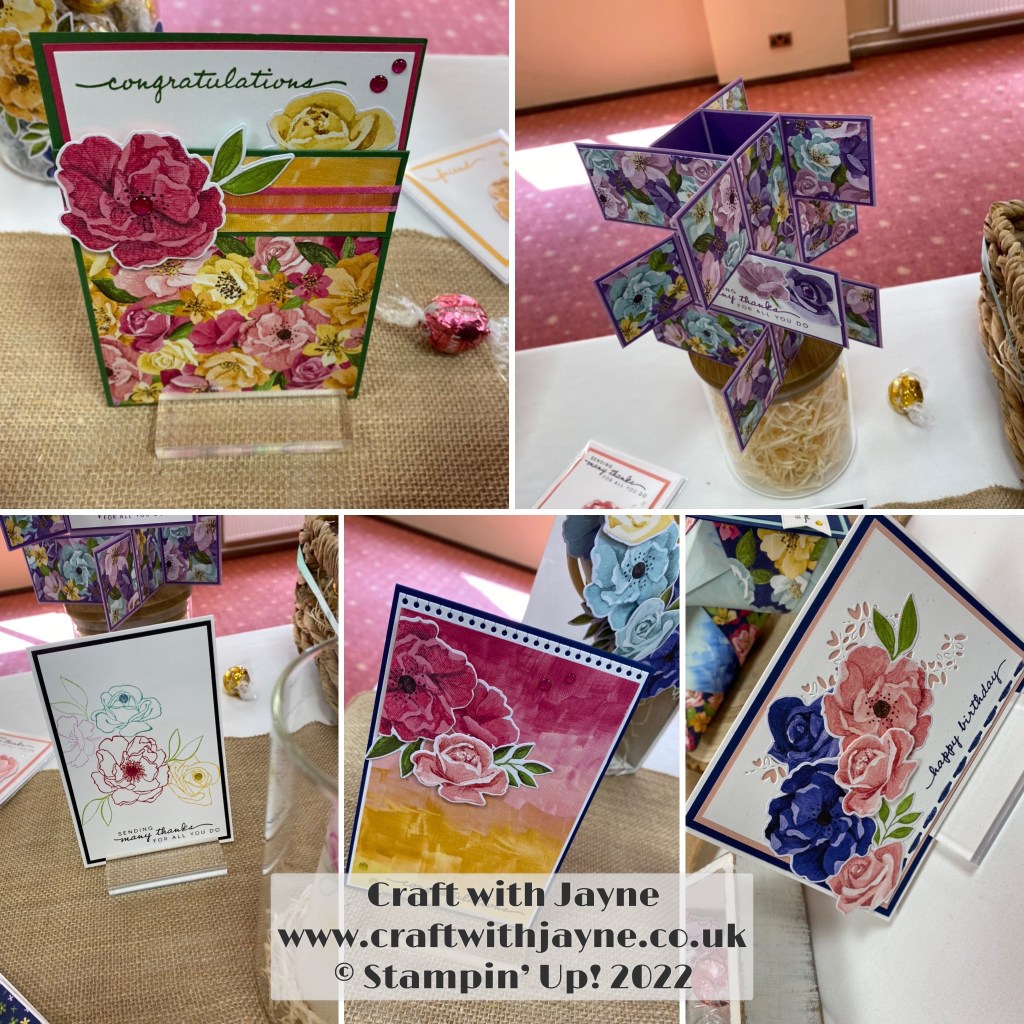
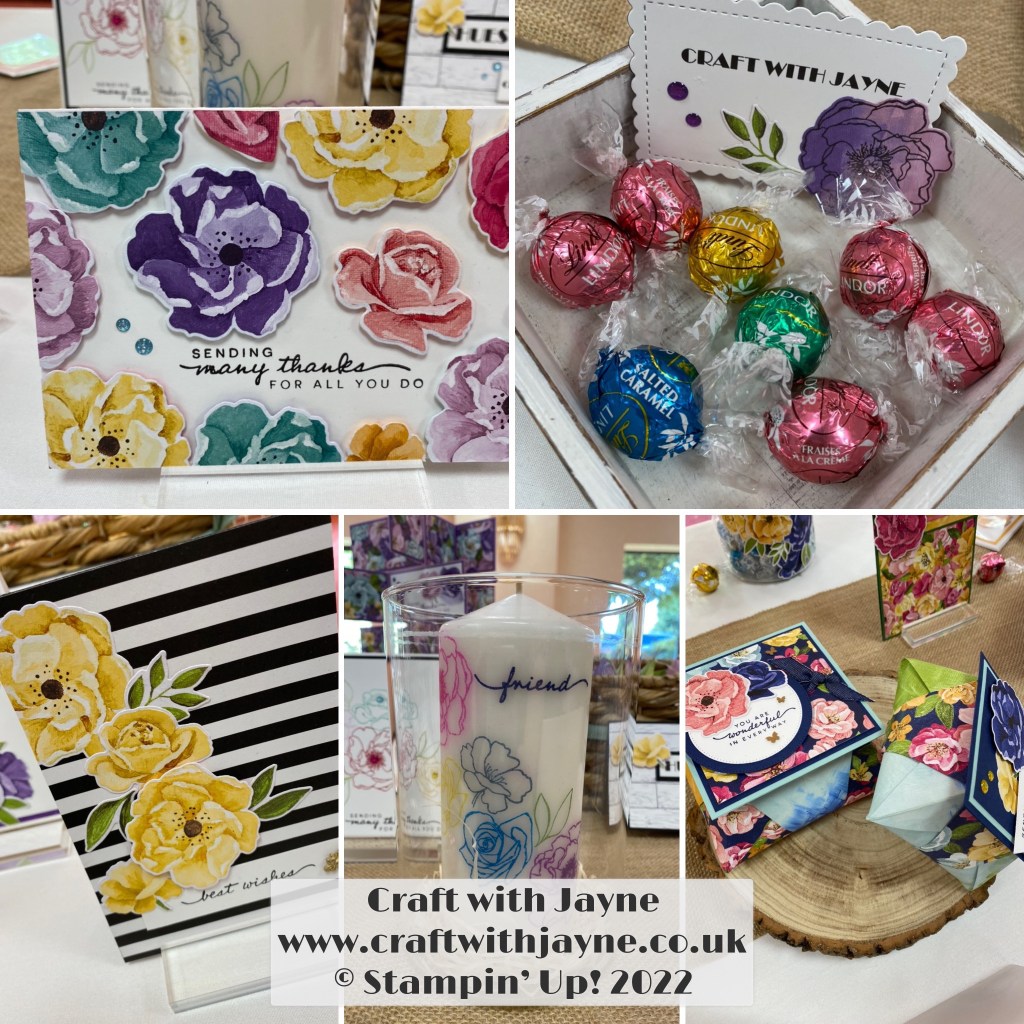
Hi all, I hope you enjoy my blog today, i recently returned from a team retreat where i created an inspiration table using the beautiful NEW Hues of Happiness Suite! if you would like to purchase any of the Stampin Up! products shown they will be available from 3rd May 2022 in the new annual catalogue. To compliment this blog there is also a short YouTube TikTok clip, click the link: https://youtu.be/E2Nquu2wzLQ
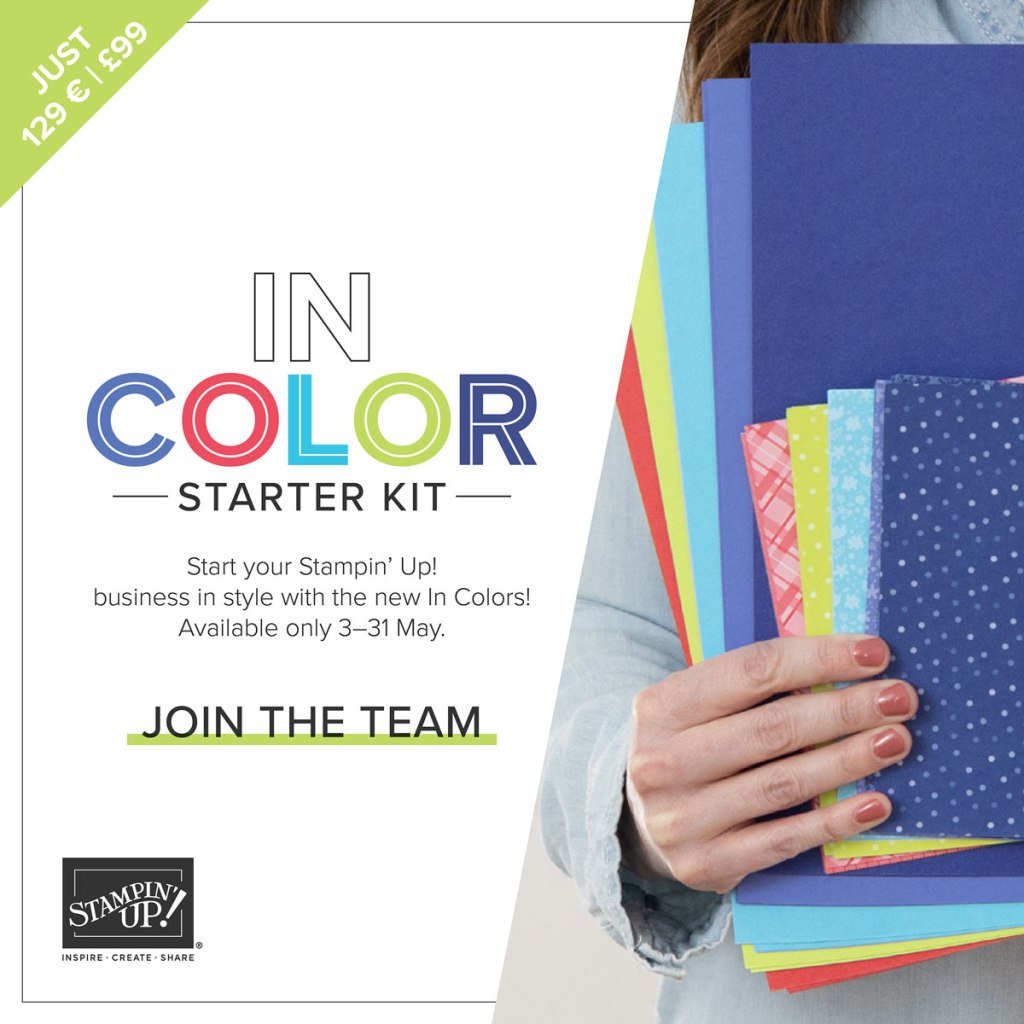
Check out the ’Amazing Joining Offer’ availbale from 3rd May 2022 to 31st May 2022!
Its a great time to think about joining Stampin Up! with the amazing ‘In Color’ starter Kit! If you sign up between 3rd and 31st May to become a Stampin’ Up! demonstrator with me you will also receive the following 2022–2024 In Color products for FREE with your starter kit full of products of your choice:
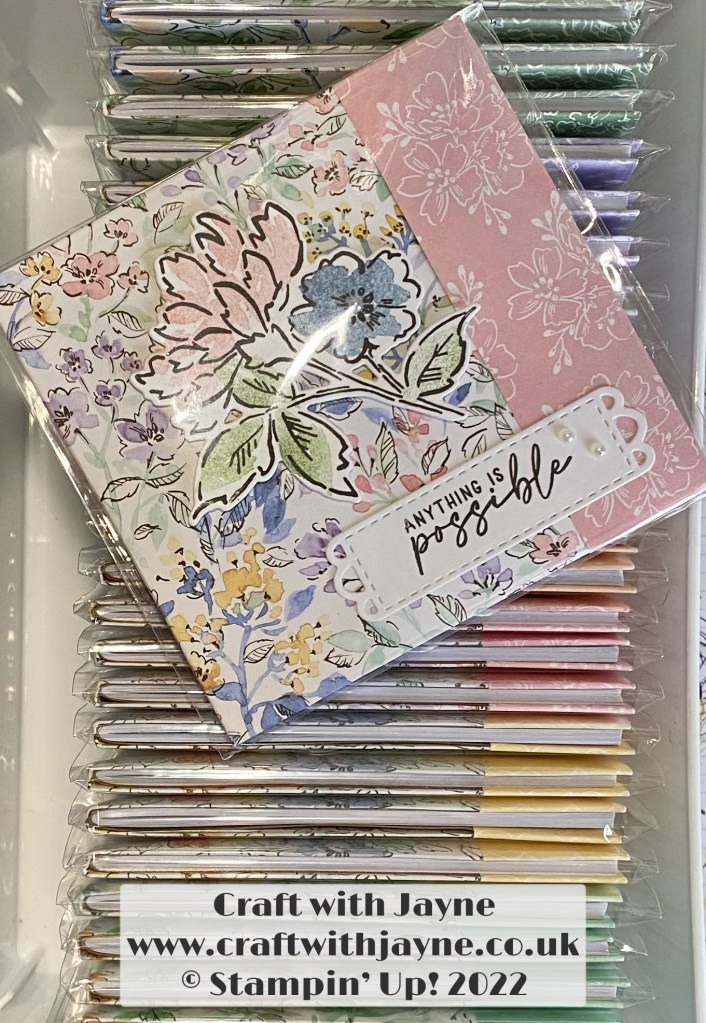
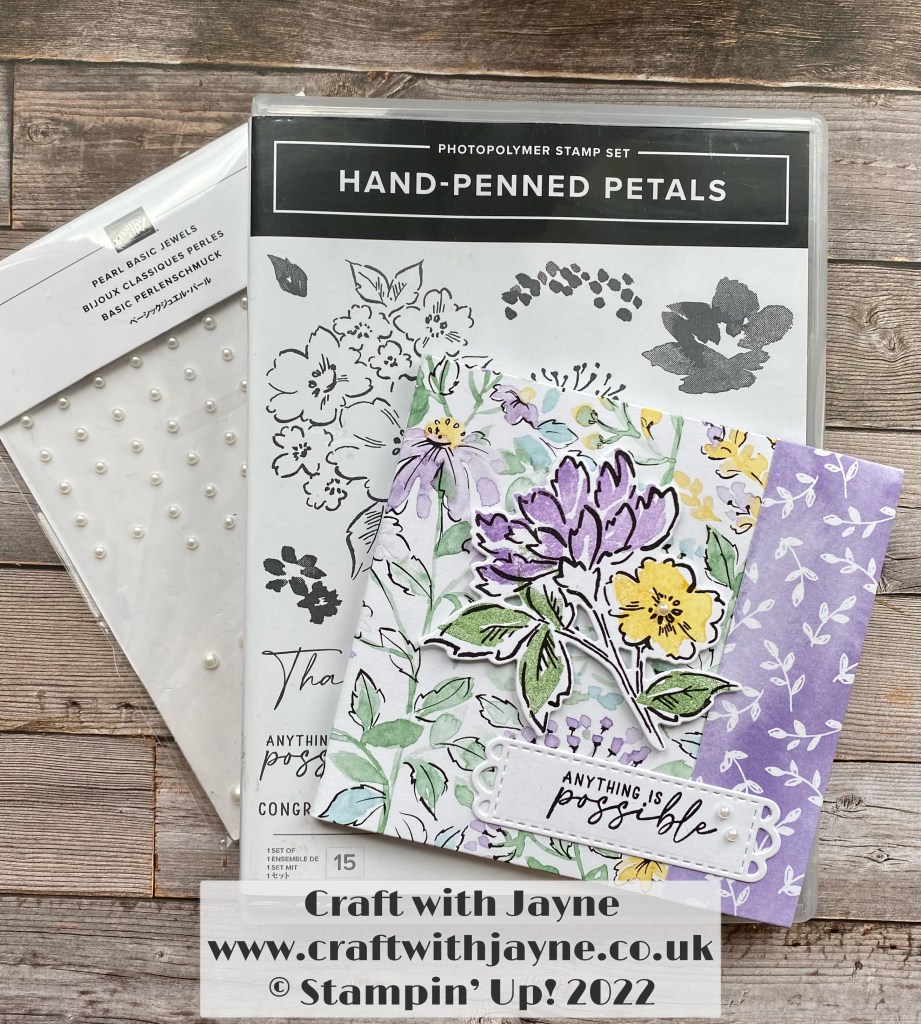
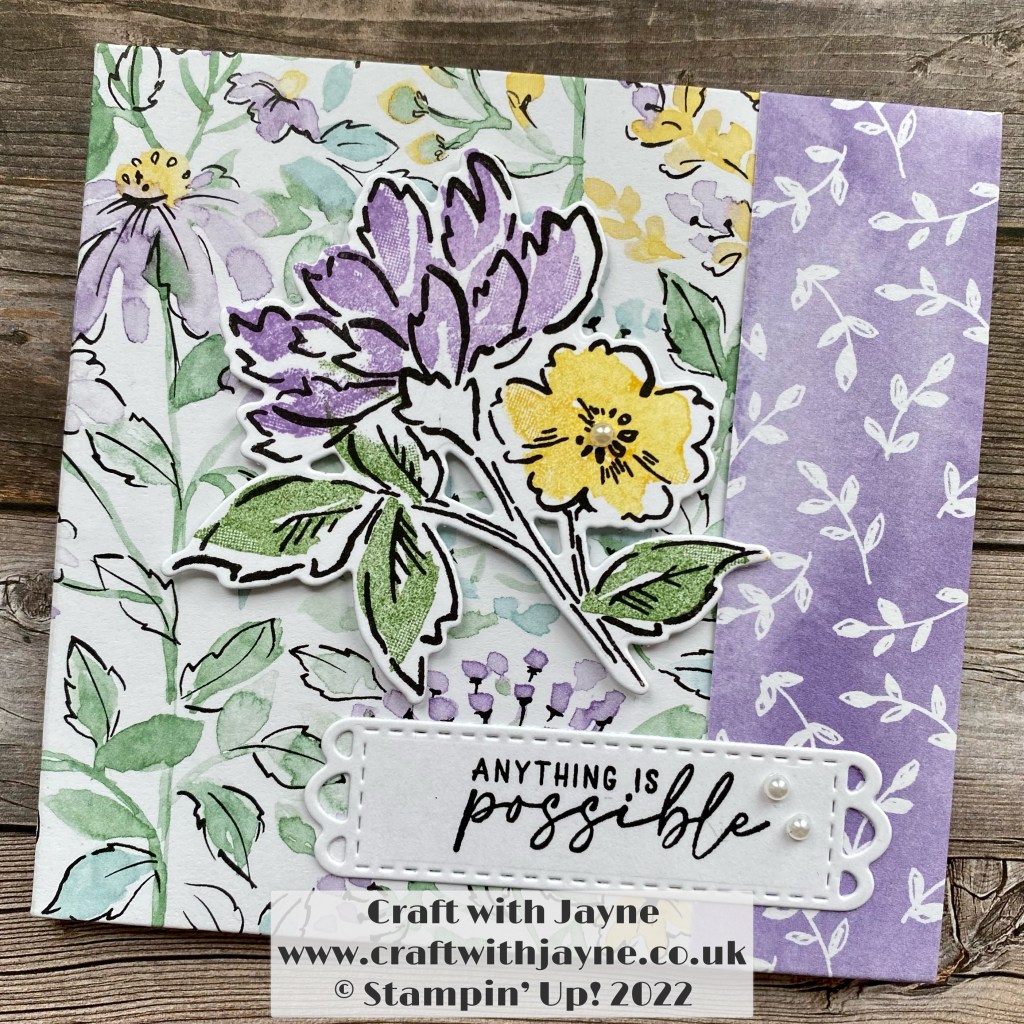
Hi all, I hope you enjoy my blog today, this is my swap from the recent Pootler Team Retreat. I really enjoyed designing my Hand-Penned Origami Notebook, its a really simple and beautiful way to decorate a plain notebook. If you would like to join my team please contact me or you can access my sign up link: http://www.stampinup.uk/join?demoid=5049163
If you would like to purchase any of the Stampin Up! products shown I have created links to my online shop for the products throughout the text for you. To compliment this blog there is also a short YouTube video, click the link: https://youtu.be/uJYe11Y4BfA
Project measurements, Instructions & product links: Designer Series Paper measuring 11 1/4″ x 9″ (28.5cm x 22.7cm), score the long side at 1 1/4″, 5 1/2″, 5 3/4″ & 10″ (3cm, 14cm, 14.5cm & 25.5cm) then score the short side at 2 3/8″ & 6 ” (6cm x 16.7cm). Next burnish, mitre the corner pieces and fold into place, finally decorate / embellish.
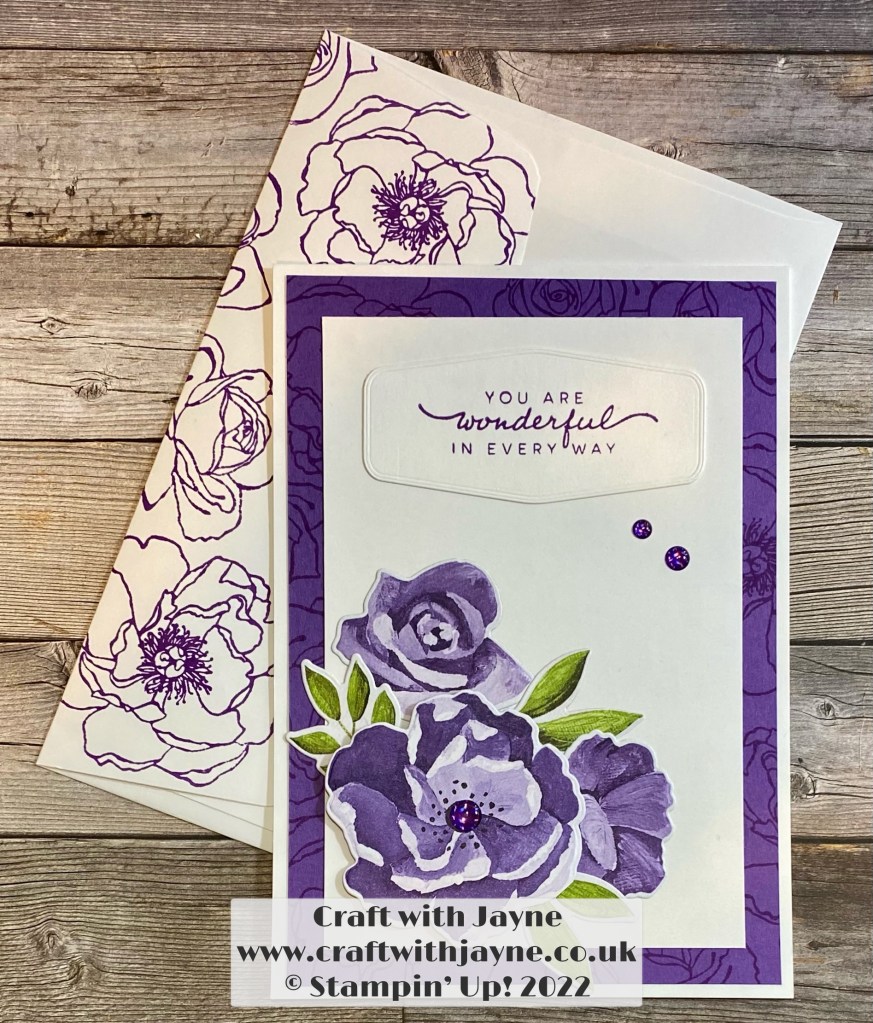
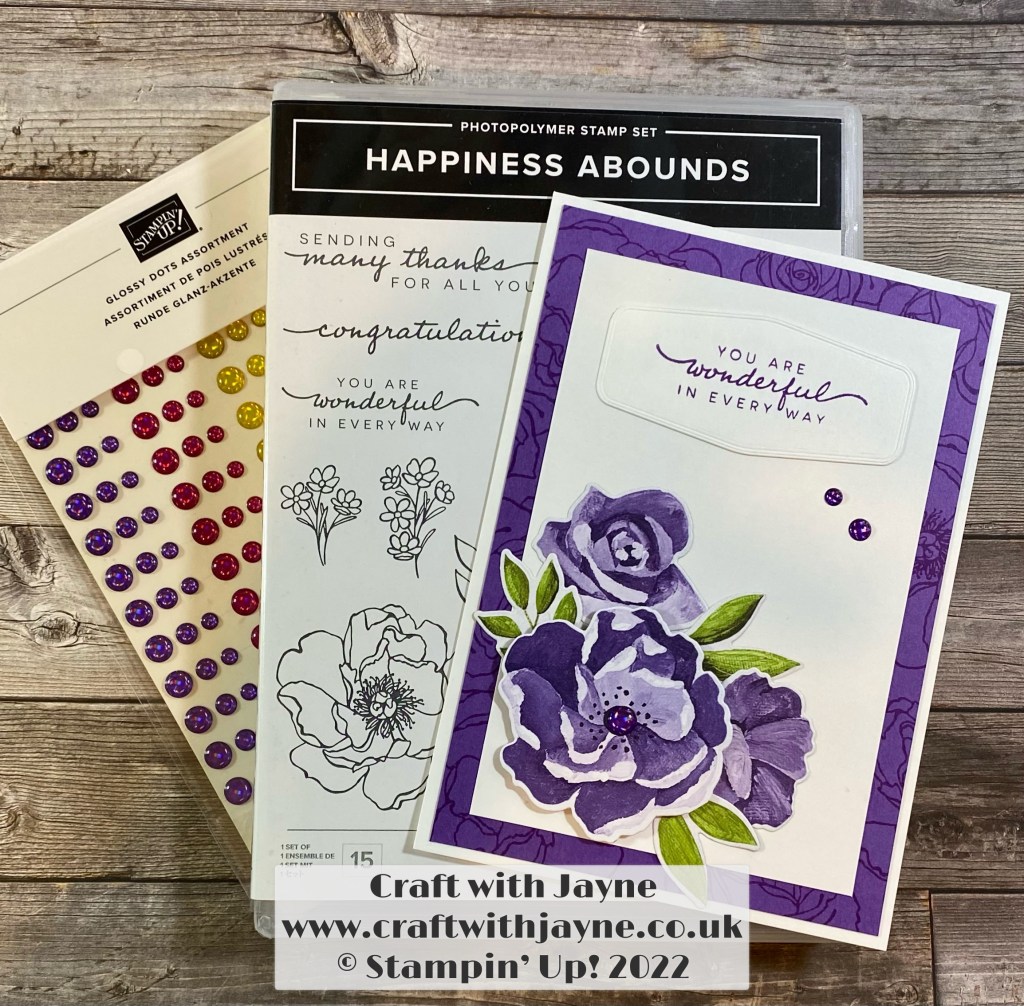
Hi all, I hope you enjoy my blog today where I am taking part in the fabulous InspireINK Blog Hop and this month’s theme is the colour ‘Purple’. I have used the fabulous ‘Hues of Happiness’ Suite from the NEW Annual Catalogue!
Jayne x
Project measurements & instructions: Card Base measuring 29.6cm x 10.5cm, score the card base on the long side at 14.8cm, then burnish. Mat layers measuring 14.3cm x 10cm & 13.8cm x 9.5cm, next glue to assemble and decorate / embellish to finish.
Please click the link below to see the other fantastic projects from my demonstrator friends in the blog hop:
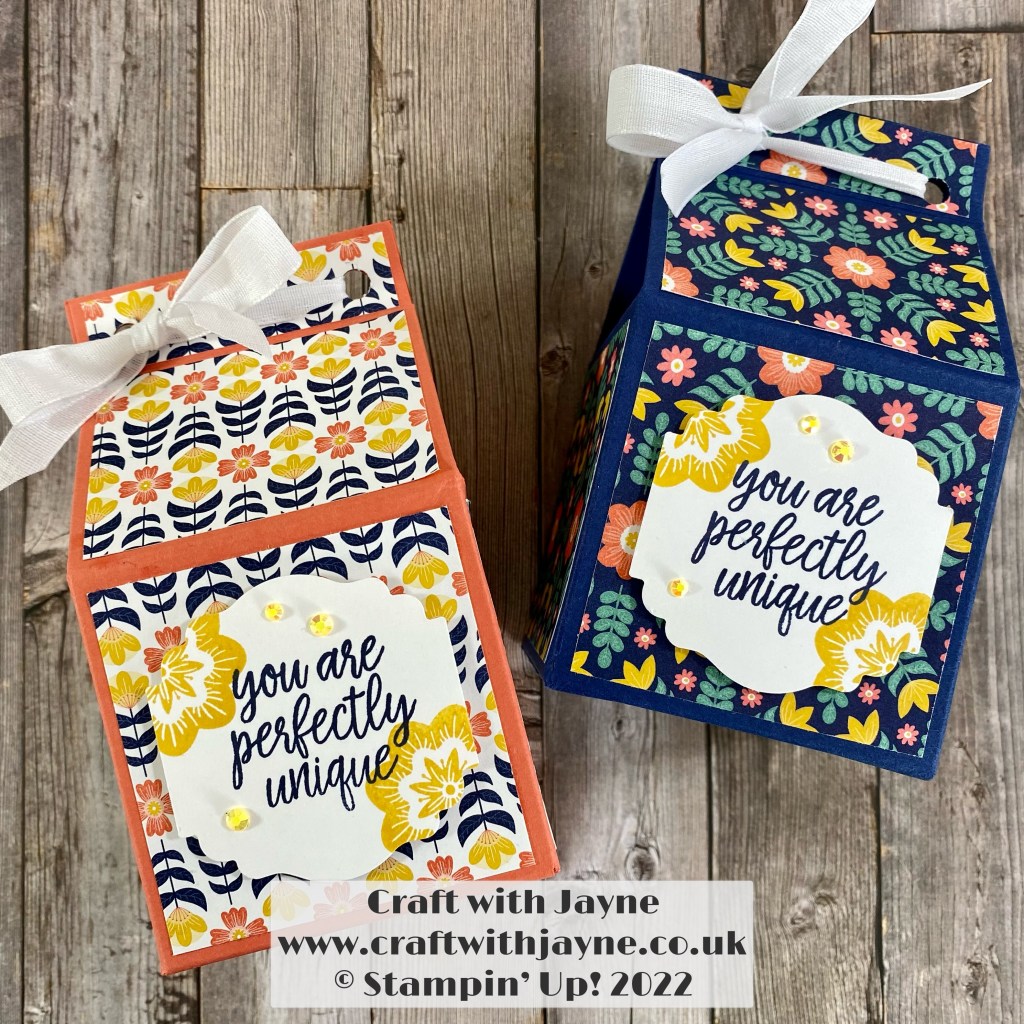
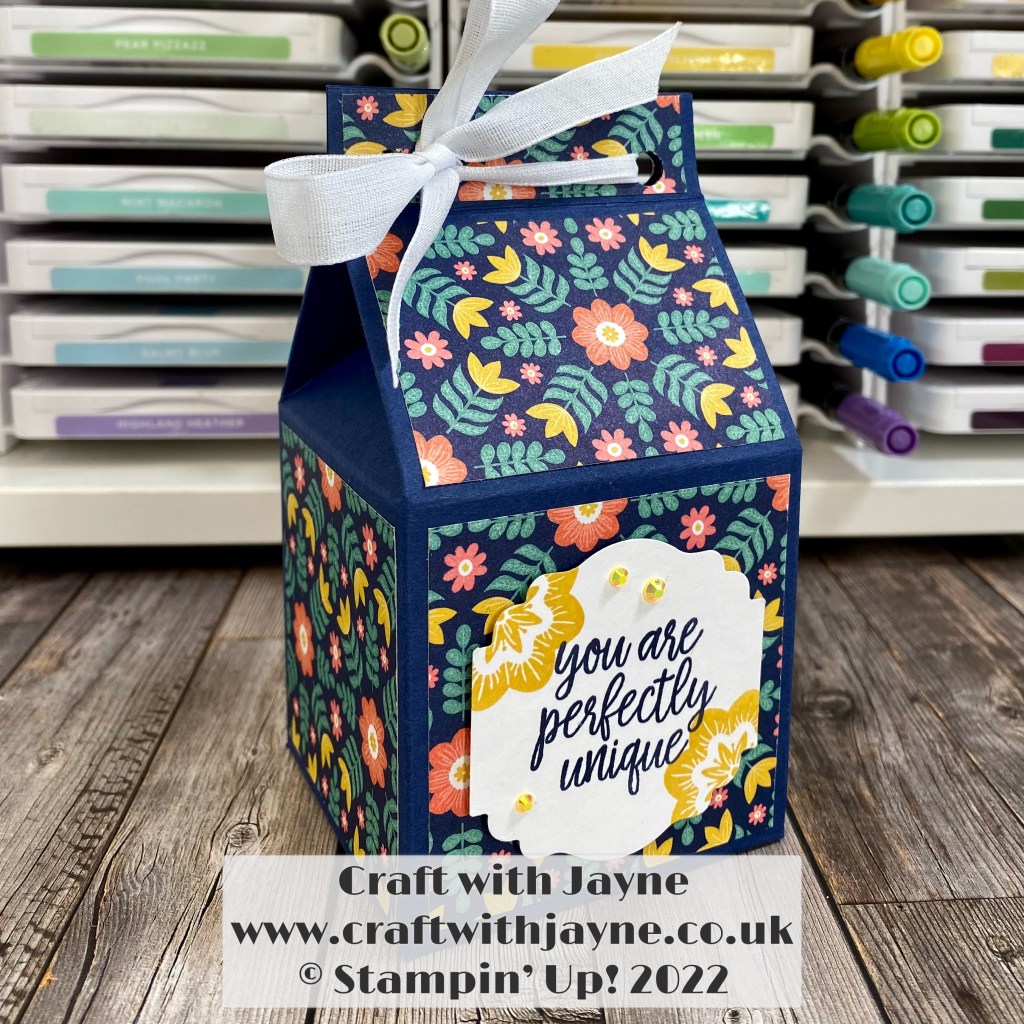
Hi all, I hope you enjoy my blog today which has a real retro vibe with the amazing Sweet Symmetry Designer Series Paper and the In Symmetry Stamp Set. If you would like to purchase any of the Stampin Up! products shown please remember that we are coming to the end of the last chance sale, so you will need to be quick! I have created links to my online shop for the products throughout the text for you.
Project measurements, Instructions & product links: Cardstock measuring 11 3/4″ x 8 1/4″ (29.5cm x 21cm), score the short side at 2 3/4″, 5 1/2″ & 7 1/2″ (7cm, 14cm & 19cm), the score the long side at 2 3/4″, 5 1/2″, 8 1/4″ & 11″ (7cm, 14cm, 21cm & 28cm), also you will need to score just to the first score line @ 4 1/8″ & 9 5/8″ (10.5cm & 24.5cm) then score the diagonal lines to create the triangle fold for the top. Next then burnish, cut, mitre and glue to assemble the box. DSP layers X4 – 2 1/2″ x 2 1/2″ (6cm x 6cm), X2 – 2 1/2″ x 1 7/8″ (6cm x 4.5cm) and X2 – 2 1/2″ x 5/8″ (6cm x 1.5cm). Finally Glue the DSP panels into place and decorate / embellish.
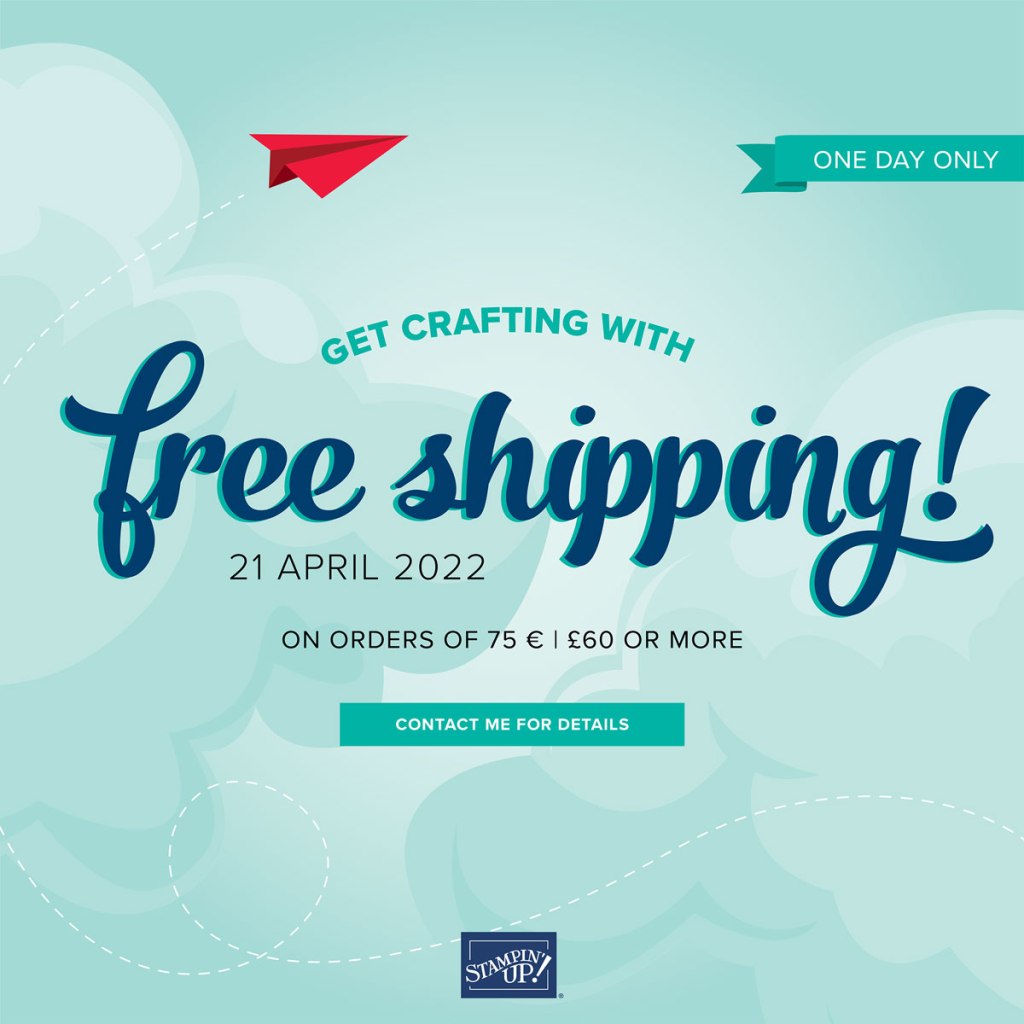
Hi all, this is a quick ‘micro blog’ just to let you know that we have a 24hr FREE shipping with a purchase of 75 € | £60 or more, from 11pm (23.00hrs) on 20.04.22 to 11 pm (23.00hrs) on 21.04.22.
This is a great time to stock up on crafting supplies like adhesive and cardstock, you only have a 24-hour window to take advantage of this fantastic offer.