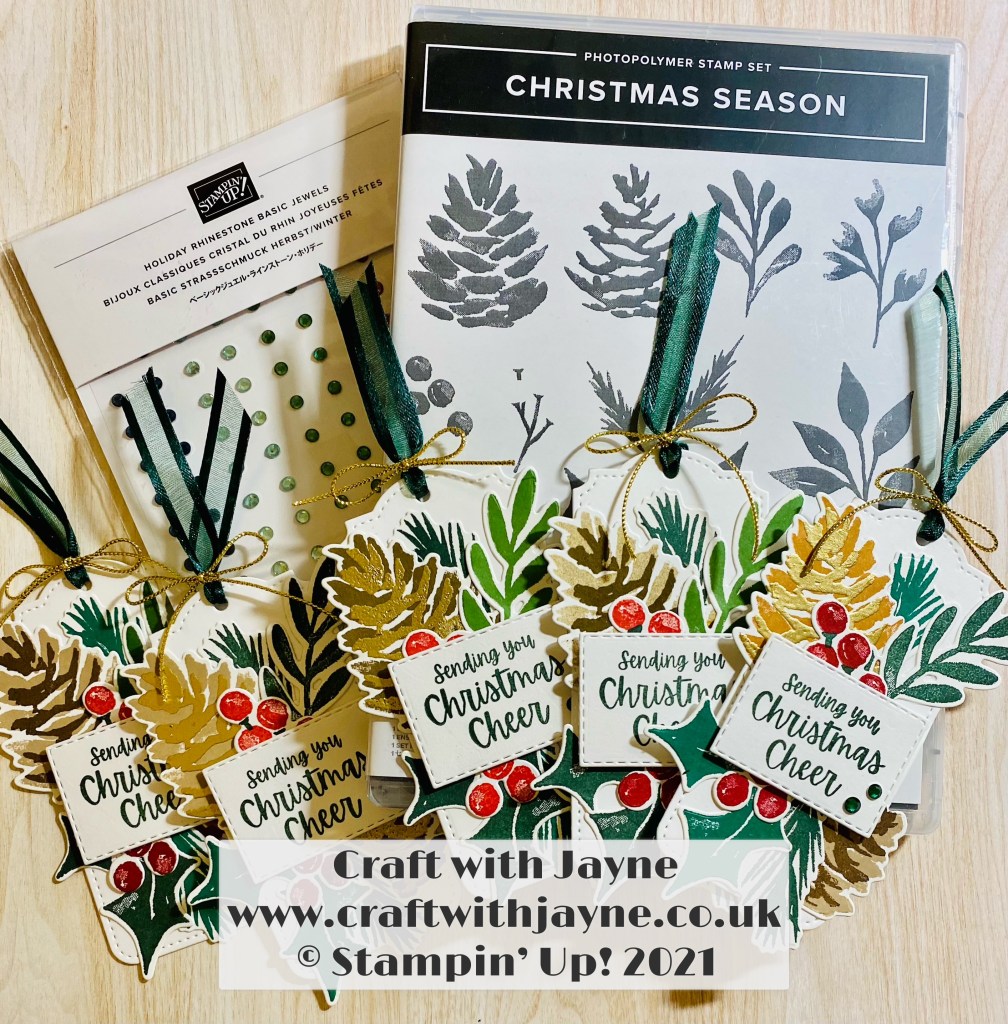
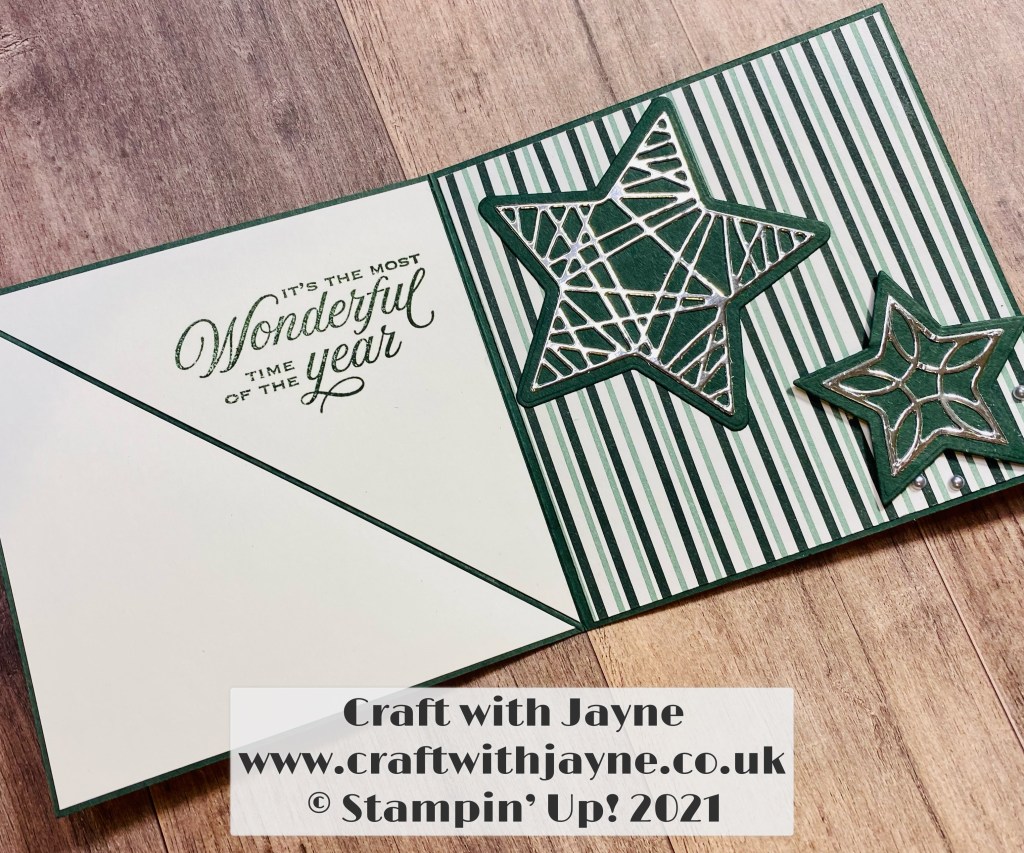
Hi all, I hope you enjoy my Christmas themed project blog today, if you would like to purchase any of the Stampin Up! products shown I have created links to my online shop for the products throughout the text for you. To compliment this blog there is also a short YouTube video, click the link: https://youtu.be/7MdzMUYjnN8
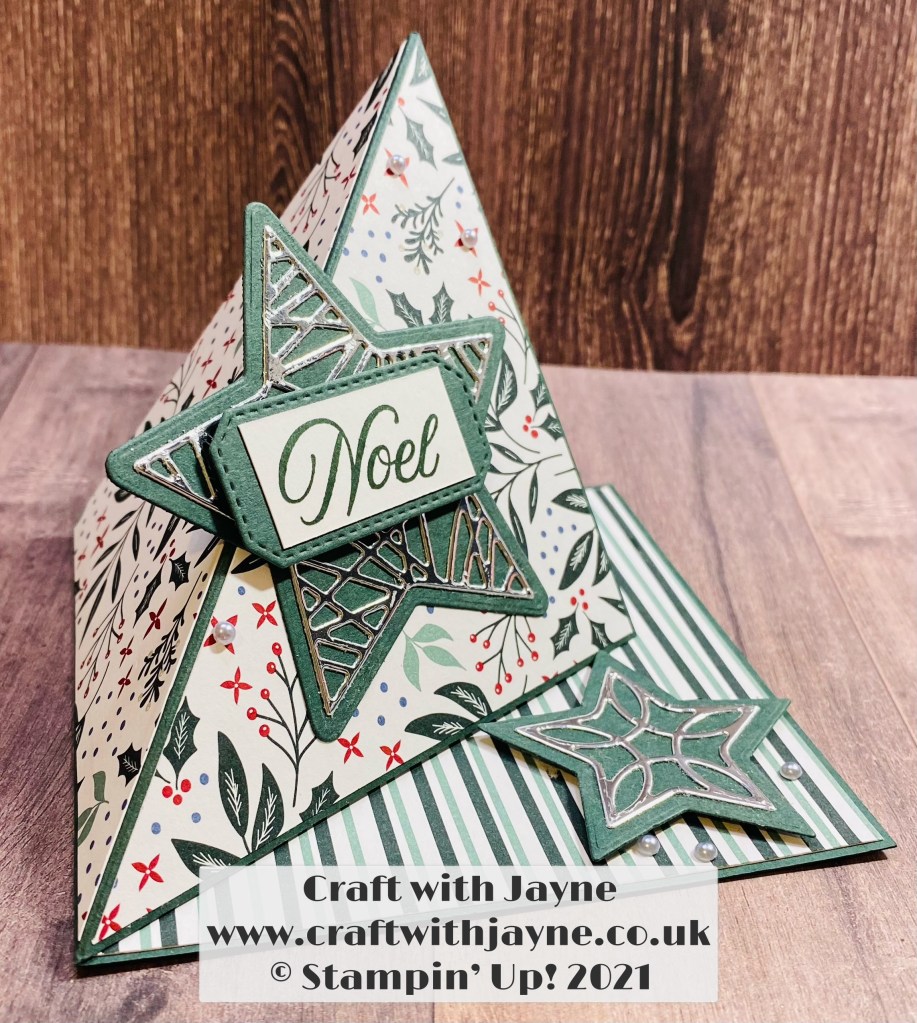
Project measurements, Instructions & product links: Cardstock measuring 10 1/2″ x 8″ (27cm x 21cm), score the long side 1/2″, 3 1/2″, 4″, 7″ & 7 1/2″ (1.5cm, 9cm, 10.5cm, 18cm & 19.5cm), score on the short side 1/2″, 7″ & 7 1/2″ (1.5cm, 18cm & 19.5cm) then burnish, cut, mitre, glue to assemble and decorate. Mat Layers 6″ x 2 1/2″ (15.5cm x 6.5cm), DSP Layers 5 1/2″ x 2″ (14.5cm x 5.5cm).
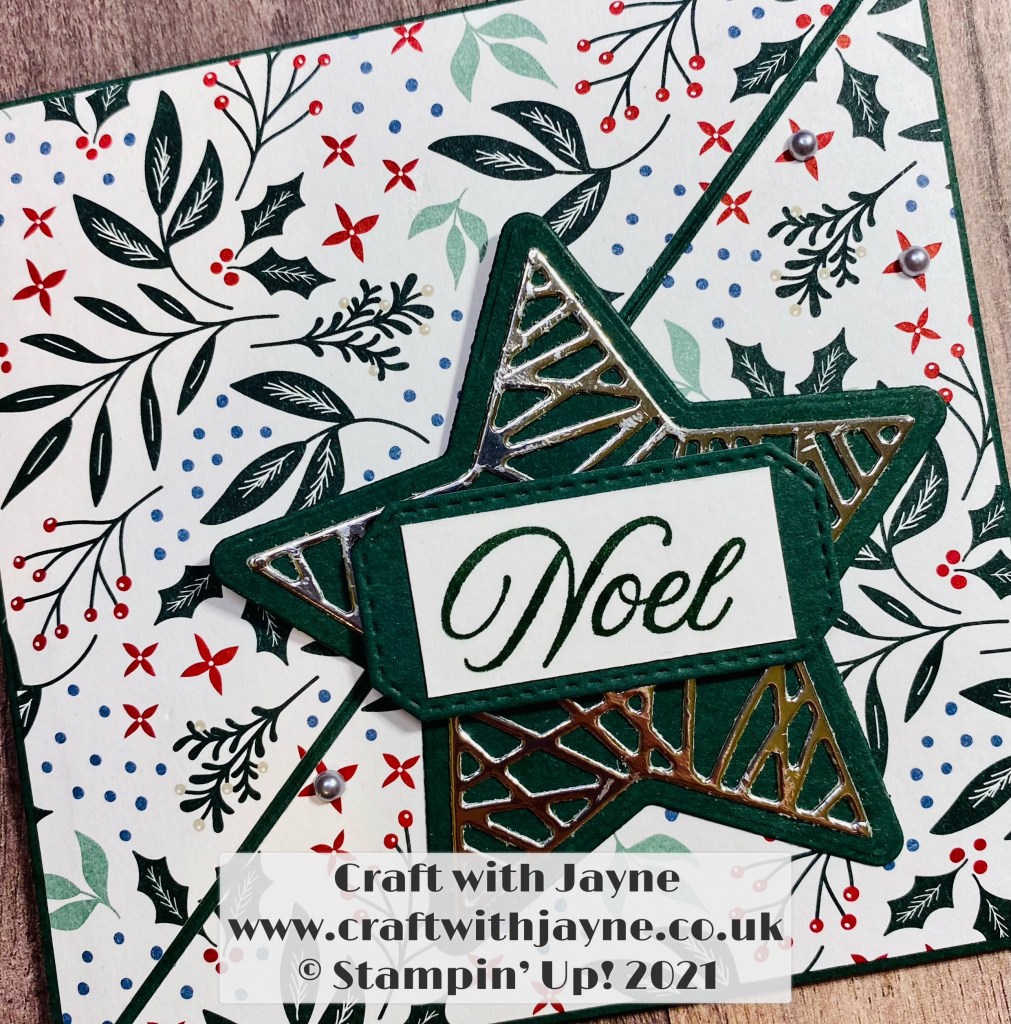
Hi all, I hope you enjoy my blog today, if you would like to purchase any of the Stampin Up! products shown I have created links to my online shop for the products throughout the text for you. To compliment this blog there is also a short YouTube video, click the link: https://youtu.be/0X_Lkmo7z7s
Project measurements, Instructions & product links: Cardstock measuring 7 1/4″ x 3″ (18.5cm x 7.5cm), burnish the long side 3″, 3 1/2″, 6 1/2″ & 7″ (7.5cm, 9cm, 16.5cm & 18cm). Designer Series Layers 2 7/8″ x 2 7/8″ (7cm x 7cm) and 2 7/8″ x 3/8″ (7cm x 1cm) glue to assemble.
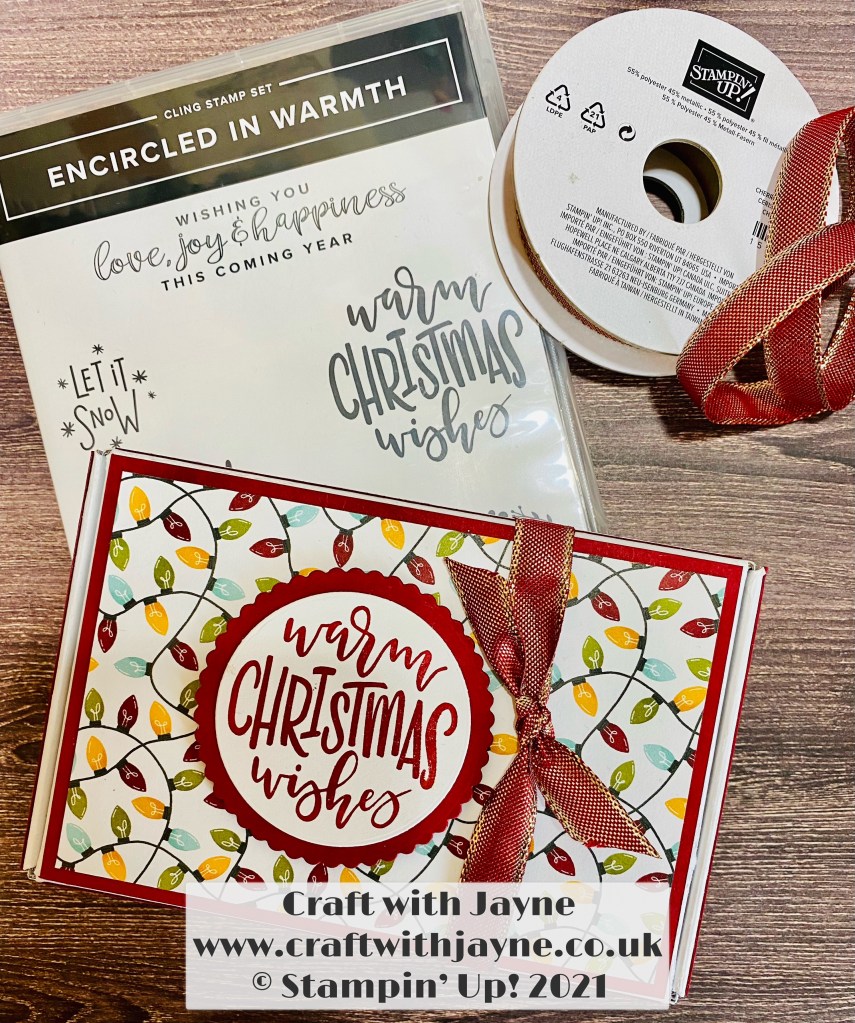
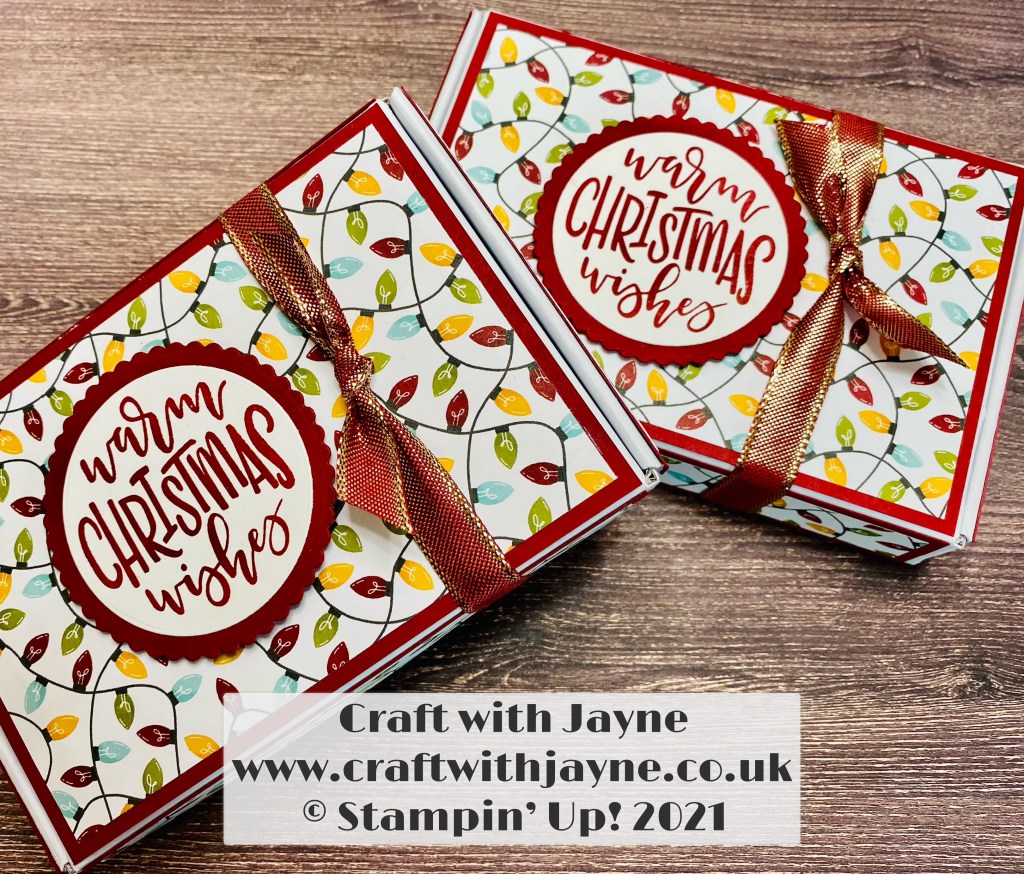
Hi all, I hope you enjoy my blog today, if you would like to purchase any of the Stampin Up! products shown I have created links to my online shop for the products throughout the text for you. To compliment this blog there is also a short YouTube video, click the link: https://youtu.be/Qwy4akeXMvI
Project measurements, Instructions & product links: Cardstock Layers X1 – 5 1/2″ x 3 3/4″ (14cm x 9.5cm); X2 – 5 1/2″ x 1″ (14cm x 2.5cm) & X2 – 3 3/4″ x 1″ (9.5cm x 2.5cm) and Designer Series Paper (DSP) X1 – 5 1/4″ x 3 1/2″ (13.5cm x 9cm); X2 – 5 1/4″ x 3/4″ (13.5cm x 2cm) & X2 – 3 1/2″ x 3/4″ (9cm x 2cm) cut, glue and assemble.